My favorite aspect of design is fonts and typography! The possibilities are endless especially after learning how to download and install fonts. All fonts are unique and can easily set a good design or project apart from a bad design or project. By default every computer comes with standard fonts, but when it comes to design and making fun projects the default fonts are very limiting. There are thousands and thousands of fonts available to use online. They are easy to install and use which makes them even better! In this tutorial I will point you in the right direction to find new fonts, walk you though downloading and installing the fonts you have found, and making sure they work properly.
[adinserter block=”2″]
Where to Get Fonts
There are loads of places to download fonts. Some of my favorite places are:
Please keep in mind when searching for the perfect font that there are different rules for every font. While most fonts are free for personal use, a lot of them require the purchase of a commercial licence if they will be used on a product that is being sold. Please make sure to do your research when using fonts for commercial purposes.
Step by Step Instructions: How to Install a Font
Step 1:
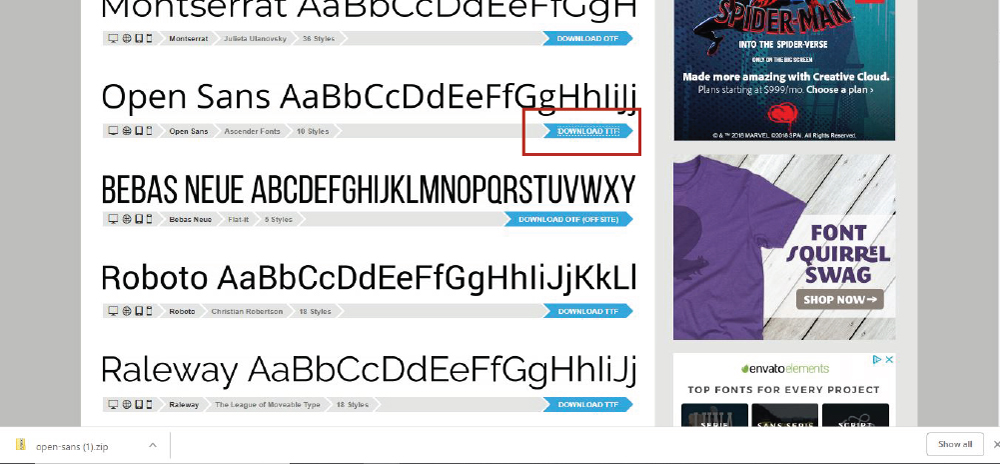
With your browser navigate to a site with fonts. I am going to use Font Squirrel. Fine a font you would like and download it to your computer. For this tutorial I am going to download Open Sans. To get started click the Download button.
Note: Some sites have multiple download buttons to ensure you are downloading the font file you are expecting hover over the download button and watch for some text to pop up in the bottom left corner of your browser window. Make sure that the first part of that text matches the site you are on. If the browser button that first part will not match the name of the website you are on.
Step 2:
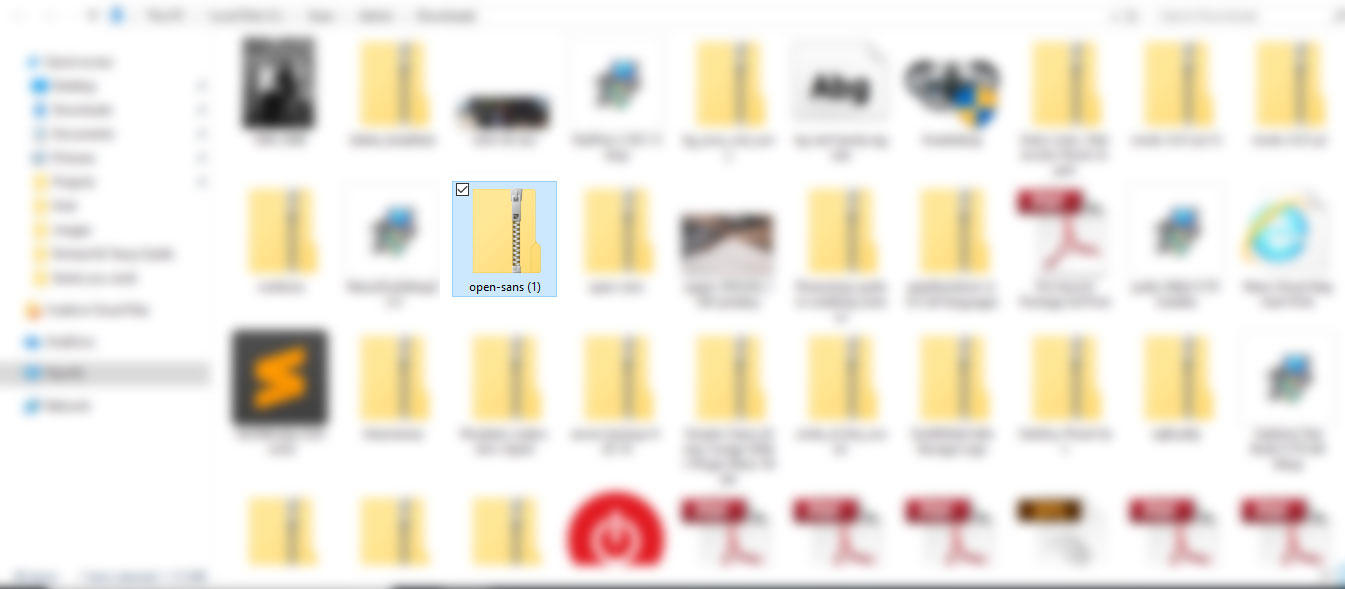
With a file browser navigate to where your download saved. Mine saved in my downloads folder.
Step 3:
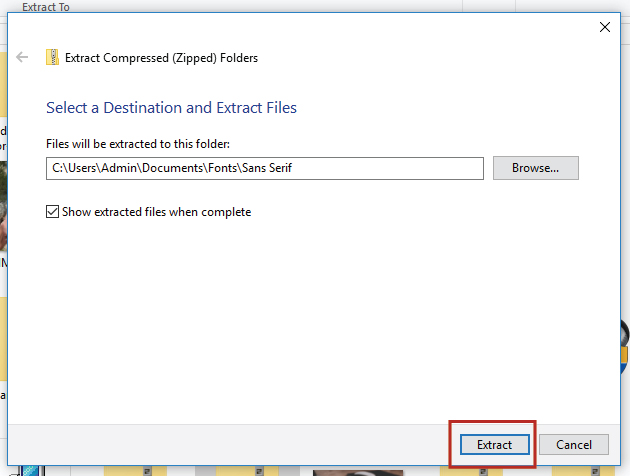
To extract the files right-click on the zip folder and select extract. A new window will appear like the image below. Use the browser button to adjust where the files will be extracted to. Once that is set to the correct place click the Extract button at the bottom right.
Step 4:
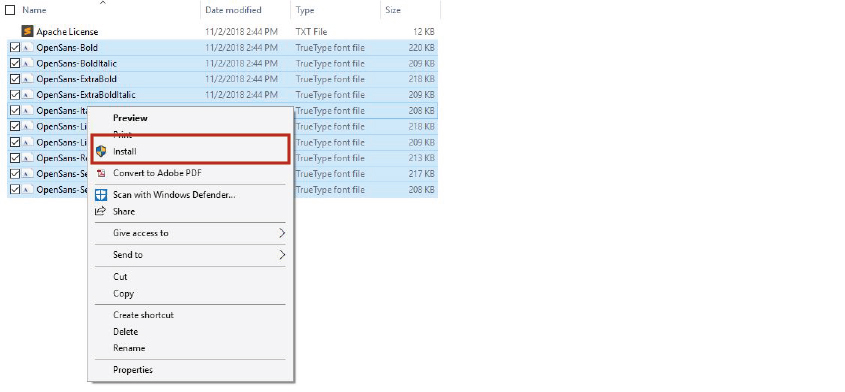
Navigate to where you just extracted the files. With all of the font files selected using your mouse right-click on one of the selected fonts. A menu will pop up. Towards the top of the menu click on the Install option.
Step 5:
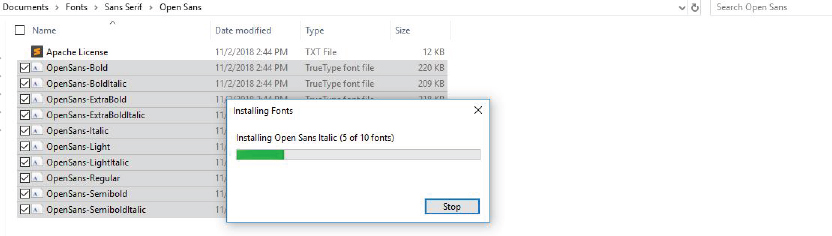
After clicking the Install button the Installing Fonts window will momentarily pop up.
[adinserter block=”1″]
Making Sure Your Font Installed
There are several ways to make sure your font installed properly. Here are a few:
- The easiest and quickest way is to go to https://wordmark.it/. This website will pull up all of the fonts that are installed on your computer. It will even let you type in words or a phrase to see what it looks using the different fonts. You may have to install/enable cookies to see fonts that aren’t your default fonts (fonts that came on your computer).
- If you have Microsoft word you can open it up, type some text on the page and change it to the font you recently downloaded.
- Download a font organizing program like Nexus or SkyFont.
The possibilities are endless after you find a few good fonts! They are easy to download and fun to play around with.
What are you favorite fonts to use? What projects have you used new fonts for?