With Valentine’s Day around the corner I am always at a loss as to how to celebrate it. Having a tight budget and a young family makes it hard to exchange gifts or even go out to dinner some years. One of the simplest yet most effective Valentine’s Day gifts is a card with a love note or uplifting message.

Print 3 different styles of Valentine's Day cards

I had a co-worker that told me her and her husband decided that instead of spending money they didn’t have on Valentine’s Day they each picked out a nice Valentine’s Day card once and just exchange the same card every year with a new note on a separate piece of paper inside it. What a brilliant idea! Just think if you faithfully wrote a yearly note and saved it in the card. Over time wouldn’t it be so cool to get lots of love notes from over the years?

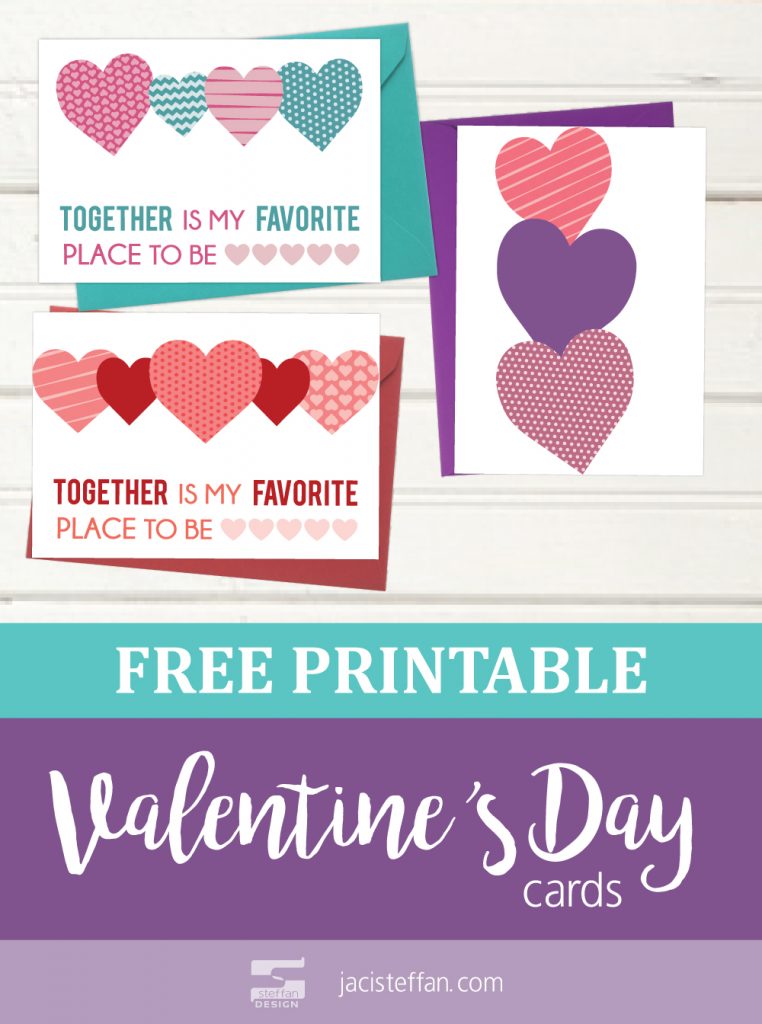
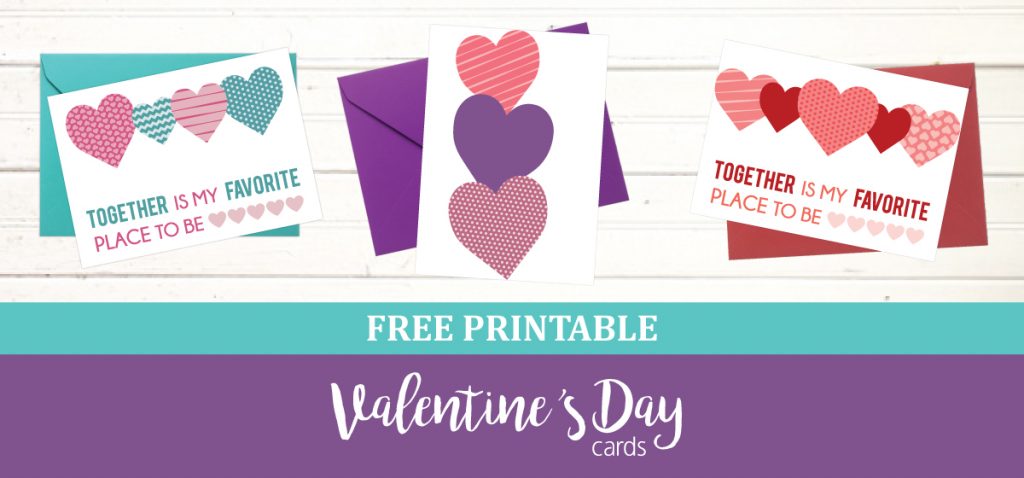
It always feels good to receive a hand written love notes or cards. Cards are also the perfect way to express love and appreciation while on a budget. Sometimes with the chaos of life and kids it is hard to make a handmade Valentine’s Day card. In an attempt to try to make Valentine’s Day easier for myself I designed these free printable Valentine’s Day cards!

How They Work

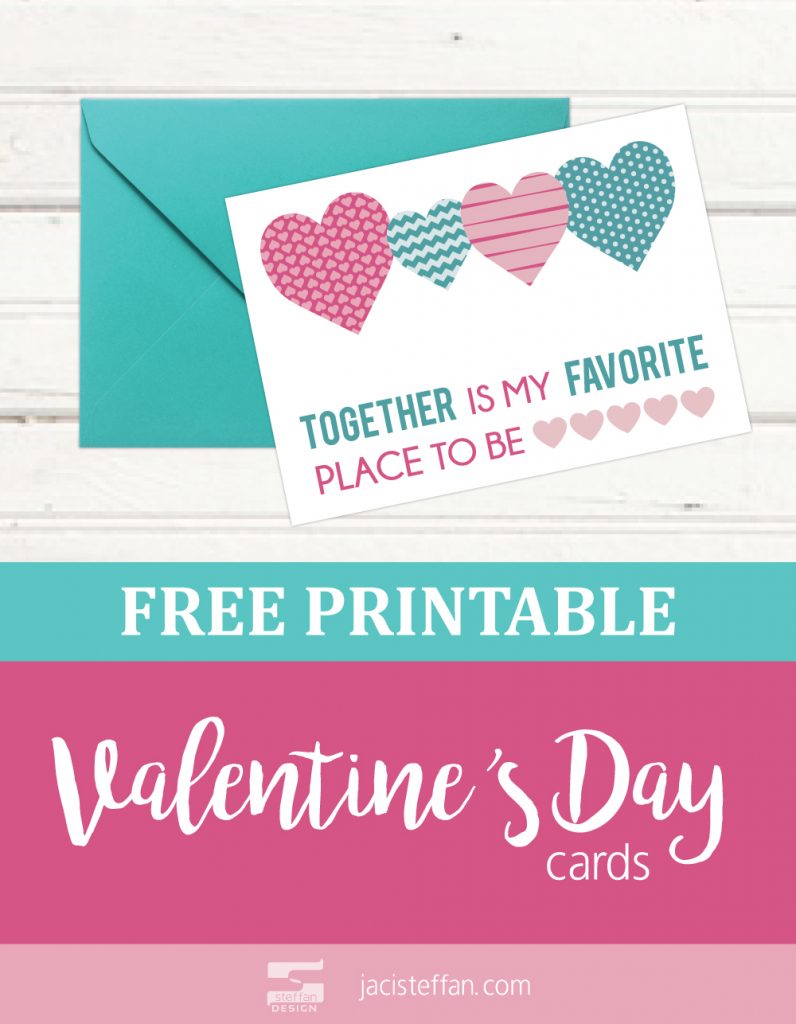
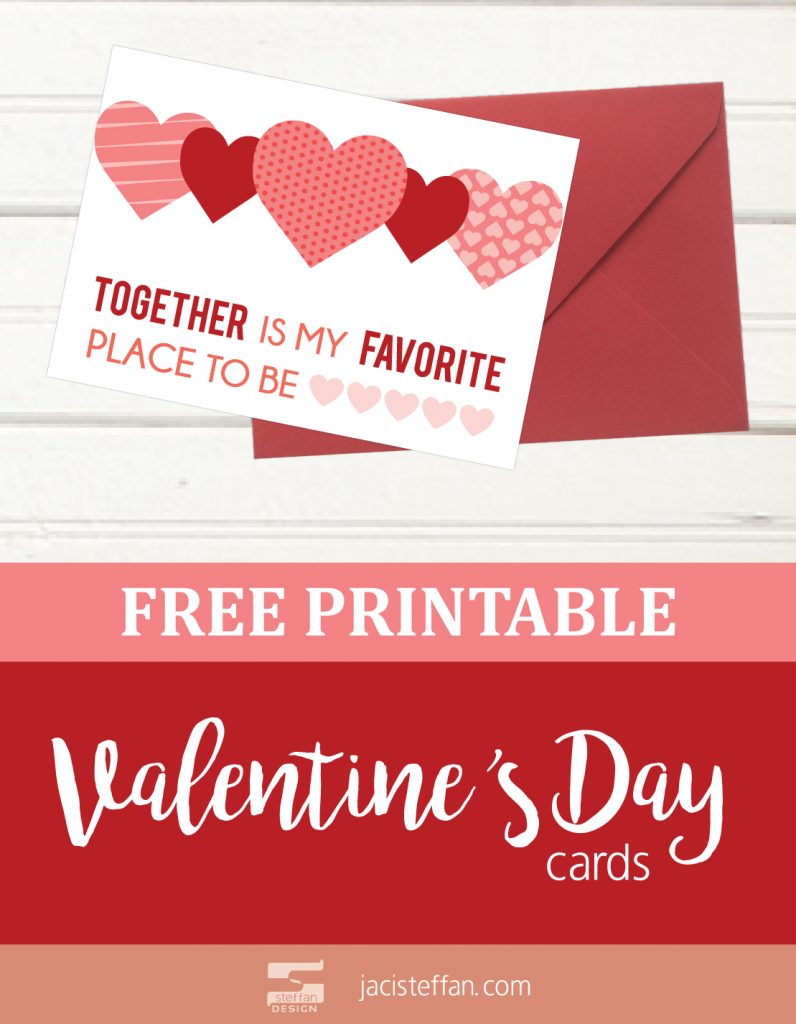
These cards can be easily printed a home or at a print shop like Kinkos (Fedex) or Staples if you want a higher quality print. Printing them on card-stock paper would make them feel a little sturdier and feel more like an actual card, but any paper will work. These Valentine’s Day Cards are designed to not take up too much ink, but still look cute and thoughtful. The cards are in 3 separate PDF files. After these cards are printed and folded they are a 5×7 card.

Card #1 & #2 are basic 5×7 cards. Once they are cut out, fold them in half and they are ready to use.

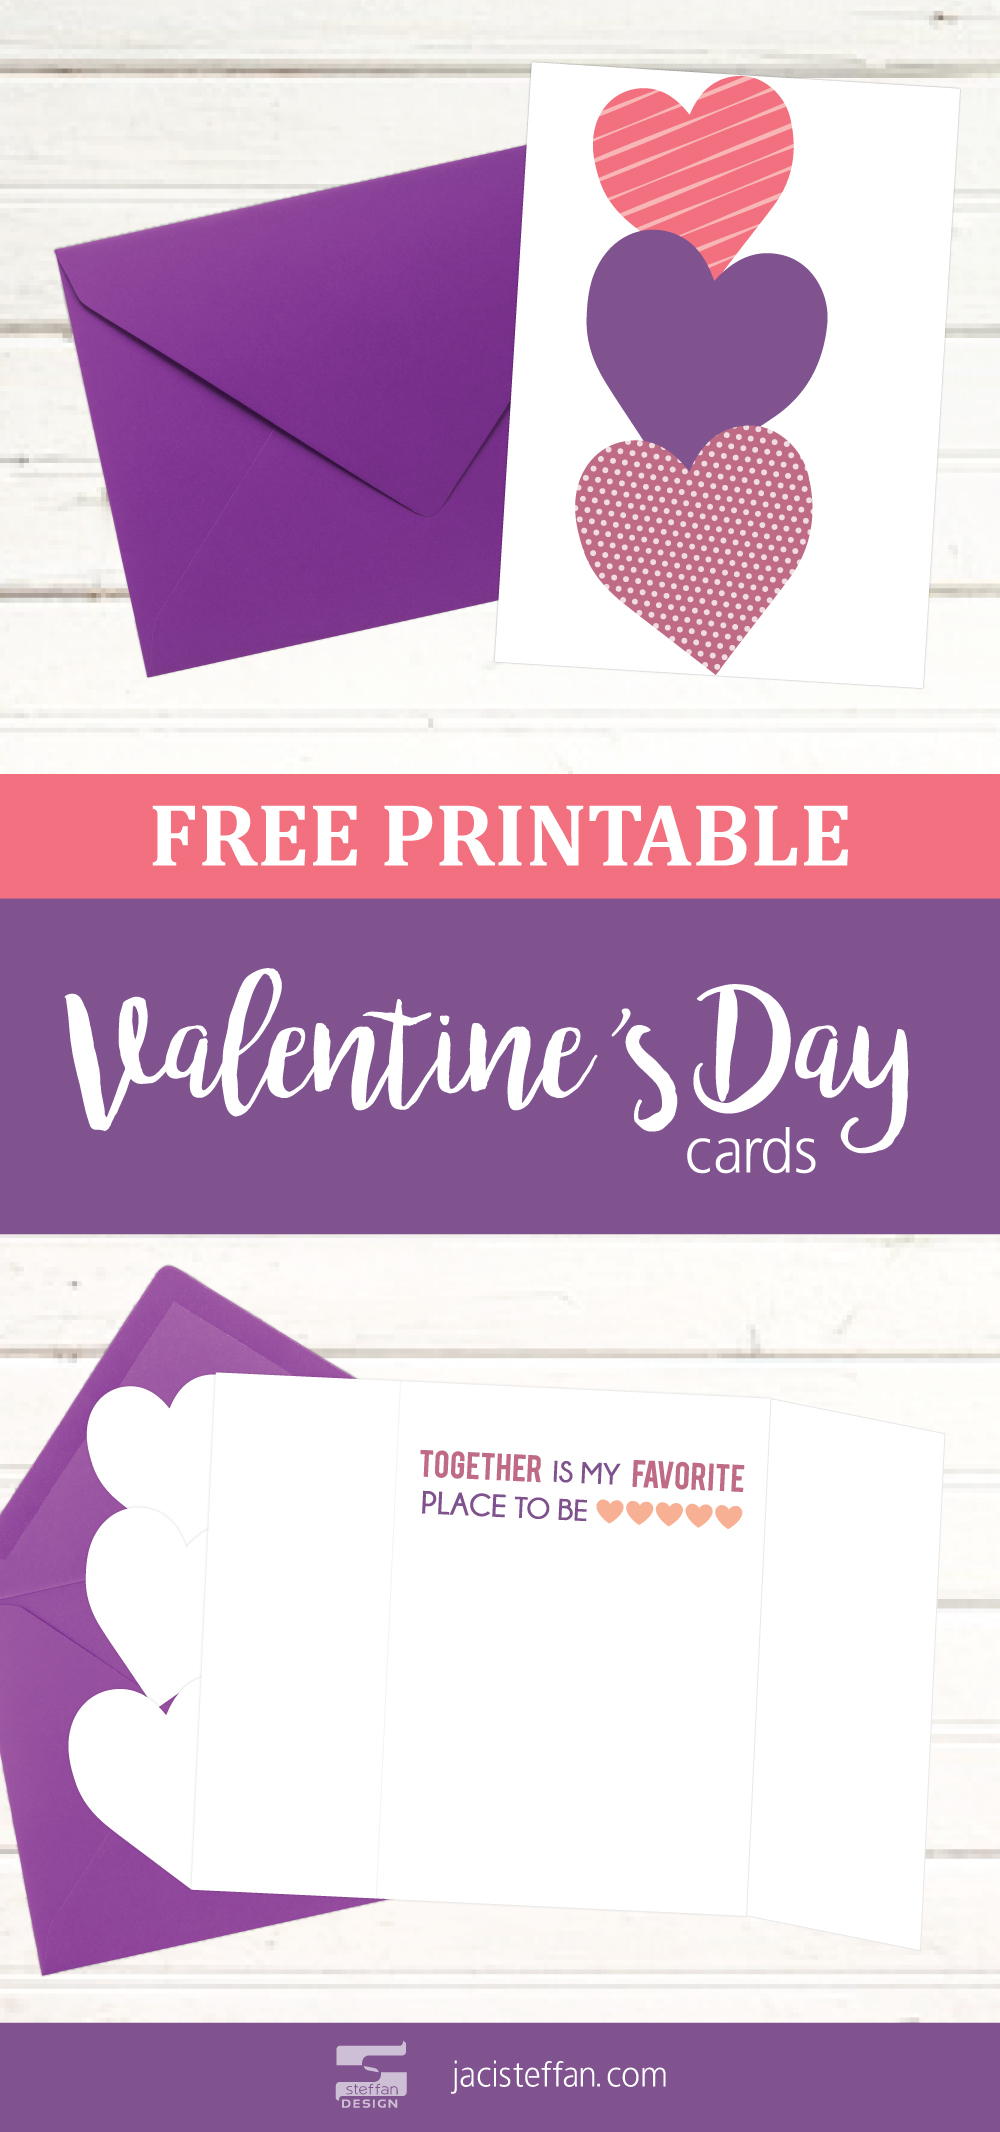
Card #3 is a tri-fold card. It will take a little bit more effort to make, but turns out super cute! Using the guide marks on the margins of the card fold the two sides into the middle of the card. Once the card is cut out fold the 2 sides into the middle. A second page of hearts is provided. Cut out the hearts and glue them along the right side of the outside of the card.

Downloading the cards is easy! After filling out your name and email an email will be sent to the address provided with a link to your FREE printable Valentine’s Day cards!

FREE printable Valentine's Day cards

Recommended Posts
I don’t know about you, but of all of the rooms in my house I spend the most time it my kitchen. One of my favorite activities to do with my son is making cookies. When it comes time to make meals and especially baking having uniform containers makes it a lot easier. I have uniform containers for my sugar, flower, baking soda, baking power, cocoa, and chocolate chips. Taking my uniform containers a step further and adding simple kitchen labels has definitely increased my productivity. With my toddler “helping” me cook one never knows what can happen in just a few short seconds. This post contains affiliate links. If you click and make a purchase, I may receive a small commission, at absolutely no extra cost to you. Read my full Disclosure Policy here. Organization Saves Time in the Kitchen Growing up my mom had containers for all of her baking ingredients. It made the baking process go much faster. When I first started baking with my son my baking and spice cupboard quickly turned into a mess! These Snapware containers were the answer to my problem. They are airtight stack-able containers that come in a variety of sizes, perfect for storing my baking ingredients and pantry items like pancake mix and rice as well as my powder laundry detergents and can be purchased on amazon.com. Click on images to view on amazon. Simple and Easy to Use Kitchen Labels Shortly after adding my baking powder, baking soda, and corn starch to the same sized containers I quickly realized that it was hard to tell the difference between the 3 ingredients by sight. So, I came up with these kitchen and pantry labels to solve my problem and better organize my kitchen. These simple looking and easy to use pantry labels can be printed on a sheet of label paper or cut with a die cutter like a Cricut or silhouette. Label paper can be purchased at any store that sales office supplies like Staples, Office Depot, Walmart or online at Amazon if you are like me and don’t want to take time to go to the store. I cut my kitchen and pantry labels with a Cricut. You can follow my step by step tutorial on how to cut SVG files with the Cricut Design Center. You can purchase my pack of 12 simple kitchen labels for $3.50 or my pack of 24 simple pantry labels for $5.50 at my etsy shop. View Kitchen Labels (12 labels) View Kitchen & Pantry Labels (24 labels) What are some ways you have increased productivity in the kitchen though organization? [...] Read more...
Did you know that you have access to thousands of free fonts for your home decor and DIY Cricut projects? Yep! Loads of FREE fonts for personal and commercial projects can be found online that can be used for your Cricut projects! This post contains affiliate links. If you click and make a purchase, I may receive a small commission, at absolutely no extra cost to you. Read my full Disclosure Policy here. My son needed a water bottle with his name on it for school. As a result for this project I will be making a vinyl decal of his name to put on his water bottle. The Contigo water bottle used on this project can be purchased on amazon. These are awesome water bottles for kids! They come with a straw but also work without it. They are easy to clean, durable and most importantly don’t leak! As a result we don’t go very many places with out it. The font that I will be using has already been installed on my computer. If you aren’t sure where to find free fonts or how to install fonts to your computer you can follow my How to Download and Install Fonts to Your Computer tutorial. Some designers allow their fonts to be used for personal and commercial use for free while others ask you pay a small fee for commercial use. It is different for each font so please make sure you follow each font and designers rules carefully. Step by Step Instructions: Use Installed Fonts in Cricut Design Space Once the font you will be using has been installed on your computer head over to Cricut’s Design Space. Step 1 Once logged in to Cricut’s Design Space click the New Project button.   Step 2 Click on the T (text button) in the panel on the left. Step 3 Type in the text you would like to use.   Step 4 Click the font drop down on the top bar tool panel.   Step 5 A large section with a list of fonts will appear. At the top you will see 3 options. All, System, and Cricut. Click on the word system and either search for the specific font or scroll down the list of fonts installed on your computer. For this decal I will be using the font Bebas.   Step 6 After clicking on the font you will be using the text will update. This area controls the font, font style, size, letter spacing, line space, alignment, and curve can be adjusted to your liking and project. Once all the text is formatted how you want it click the ‘Make It’ button in the top right hand corner. Step 7 Connect your Cricut to your computer and outlet. Select the right size of board on the left hand side and make sure that your material is placed in the same place as the design on the mat. Next, click on the ‘Continue’ bottom in the bottom right. Step 8 Finally, set the material dial on your Cricut machine. Then push the Cricut button on your machine and let the Cricut work it’s magic!     In conclusion, knowing how to install fonts to your computer and use them in Cricut’s design space opens up a whole new world of home decor and DIY Cricut projects! The sky is the limit so have fun! What are your favorite projects to make with your Cricut? Leave a comment below! [...] Read more...