Logo design is a big part of our ever day life even if we don’t always realize it. We see logos on the grocery’s we’ve purchased, appliances in our home, vehicles we travel around, billboards and stores we pass on the way to our destinations and websites we browse throughout the day.
The logo mark is one of the most important parts of branding a company. Logos can tell your customs a lot about your company at a first glance. They are the best way for a company to build awareness, loyalty, and give customers an idea of what the company is about.
1. Keep Your Logo Simple
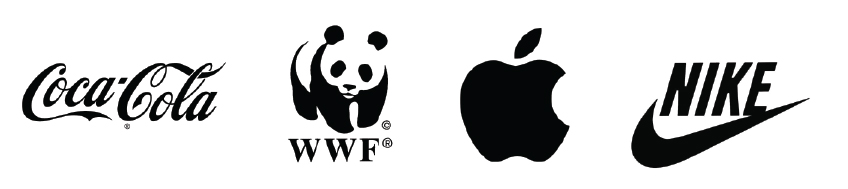
Since we see logos everywhere all day long it is important to keep logos simple. For example it is much easier to memorize the title of a book vs the summary on the back. The title is easier to remember because it is short, simple and in most cases describes what the book is about. There is a lot to be said about simple logos. Simple logos are easier to remember and recognize from a distance. In the long run they are more likely to create a lasting impression.
![]()
[adinserter block="1"]
2. Always Design in Black and White First
One of the most important rules of logo design is if your logo looks good in black and white it will look better in color. Textures and colors may not always be visible when printed or applied to different mediums. Logos defendant on color or texture it will lose their recognition when printed in black and white. Deigning logos in black and white will also help keep focus on the overall design.
3. Design With Scale In Mind
In today’s world logos are placed on a wide variety of mediums from products, receipts, marketing ads, mobile apps, websites, store fronts and billboards. It is important for logos to be legible whether they are put on something as small as a chap stick container or as large as a billboard.
[adinserter block="1"]
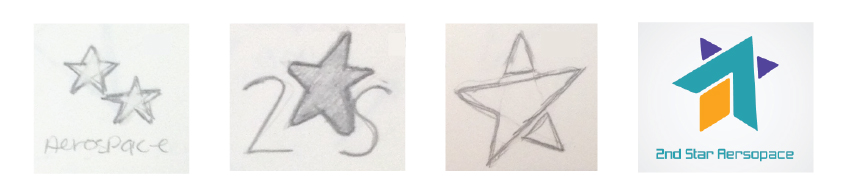
4. Take Time to Sketch Your Ideas
Now that we have some rules to follow get out a piece of paper, pencil, eraser and tracing paper. Even if you are terrible at drawing do your best. Sketch every logo design idea you can come up with even if it doesn’t seem like a good idea. Sketching all ideas will help clear your mind and come up with new ideas. Once several ideas have been drawn look at them and see if elements or concepts can be combined to create new versions of the logo. Tracing paper is very useful in this phase of the process. It allows you to trace an element or concept and put it over the top of other ideas to see if different ideas will work
5. Design Logos in Vector
Having a vector version of your logo ensures that it will follow the scaling rule outlined in #4. Vector is different from pixels because unlike pixels vector is mathematically calculated so that no matter how large or small your logo is it will always have smooth lines. Vector file formats are AI (Adobe Illustrator), EPS, and SVG. Whether you design your own logo or have a designer create a logo for you make sure a vector version is provided.
![]()
6. Use Legible Typography
Typography is an important part of logo design. Make sure that the font(s) you choose match the demographic you are targeting. The font must be legible from a distance or when printed on a small product. Another aspect of typography is the spacing between letters. Make sure that your letters have enough spacing between them but not too much. Having the right amount of spacing increases legibility.

[adinserter block="1"]
Designing logos is a fun but challenging aspect of design. Good logos require a lot of time, trial & error and strategy. Since logos are the initial face of a company having a simple, easy to read, and memorable logo will help create customer trust. Customer trust in turn results in a successful business. Following these 6 rules of logo design will put you on the path to designing a strong recognizable logo.
The logo mark is one of the most important parts of branding a company. Follow these 6 simple steps to create a lasting logo.