Did you know that you have access to thousands of free fonts for your home decor and DIY Cricut projects? Yep! Loads of FREE fonts for personal and commercial projects can be found online that can be used for your Cricut projects!
This post contains affiliate links. If you click and make a purchase, I may receive a small commission, at absolutely no extra cost to you. Read my full Disclosure Policy here.
My son needed a water bottle with his name on it for school. As a result for this project I will be making a vinyl decal of his name to put on his water bottle. The Contigo water bottle used on this project can be purchased on amazon. These are awesome water bottles for kids! They come with a straw but also work without it. They are easy to clean, durable and most importantly don’t leak! As a result we don’t go very many places with out it.
The font that I will be using has already been installed on my computer. If you aren’t sure where to find free fonts or how to install fonts to your computer you can follow my How to Download and Install Fonts to Your Computer tutorial. Some designers allow their fonts to be used for personal and commercial use for free while others ask you pay a small fee for commercial use. It is different for each font so please make sure you follow each font and designers rules carefully.
[adinserter block=”1″]
Step by Step Instructions: Use Installed Fonts in Cricut Design Space
Once the font you will be using has been installed on your computer head over to Cricut’s Design Space.
Step 1
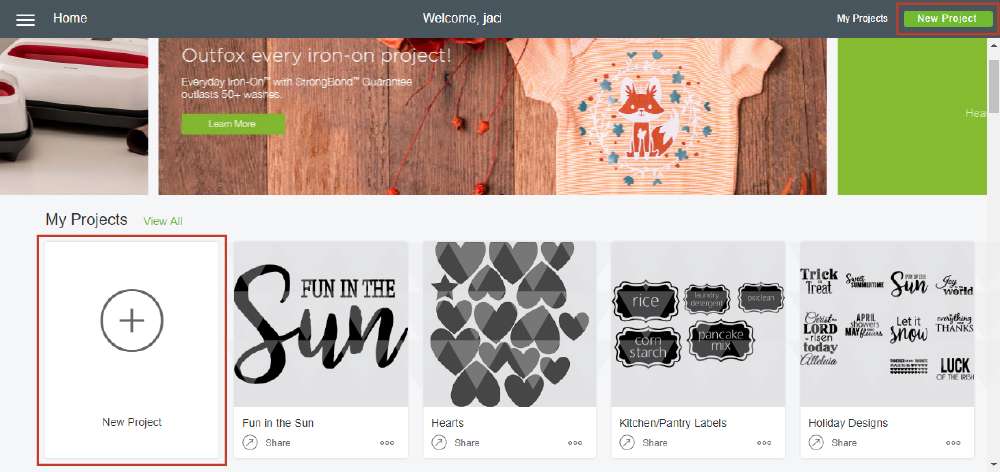
Once logged in to Cricut’s Design Space click the New Project button.
Step 2
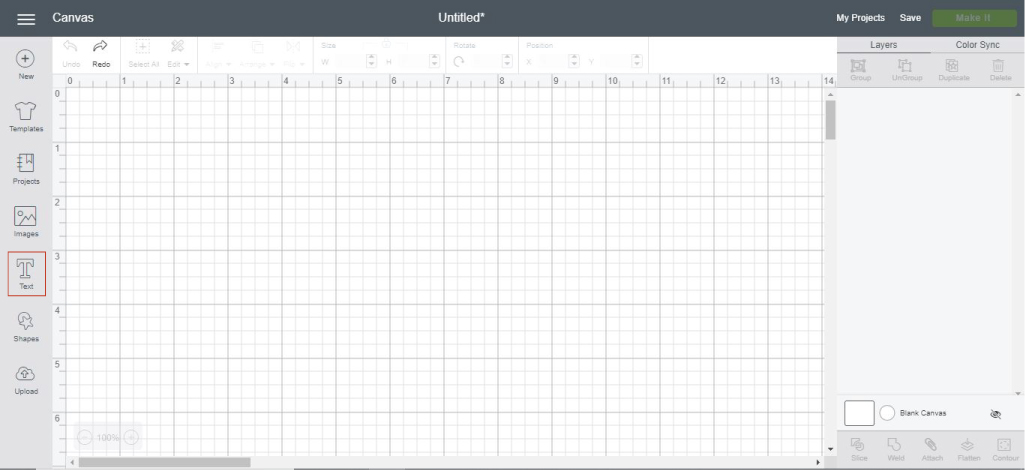
Click on the T (text button) in the panel on the left.
[adinserter block=”1″]
Step 3
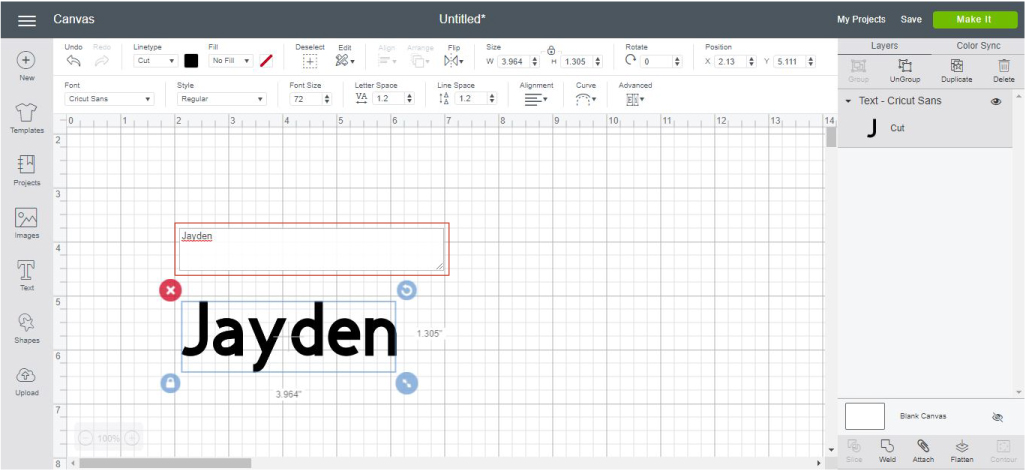
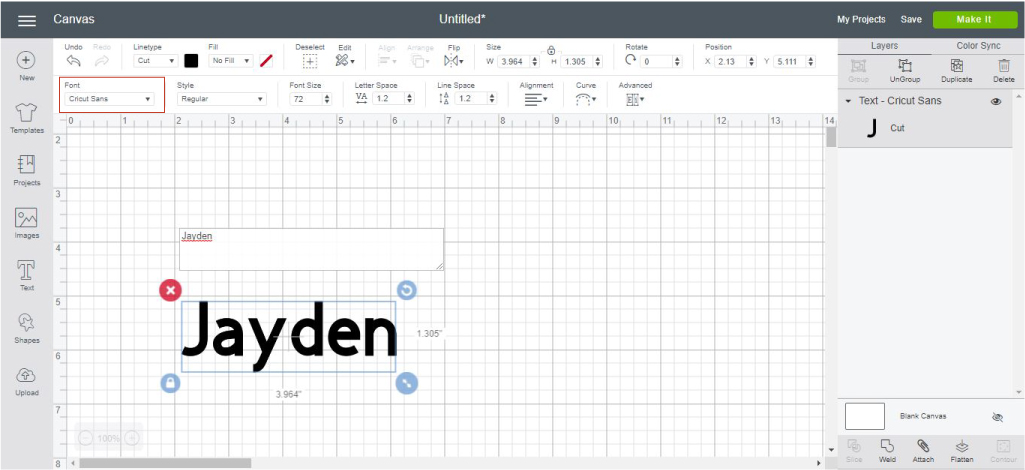
Type in the text you would like to use.
Step 4
Click the font drop down on the top bar tool panel.
Step 5
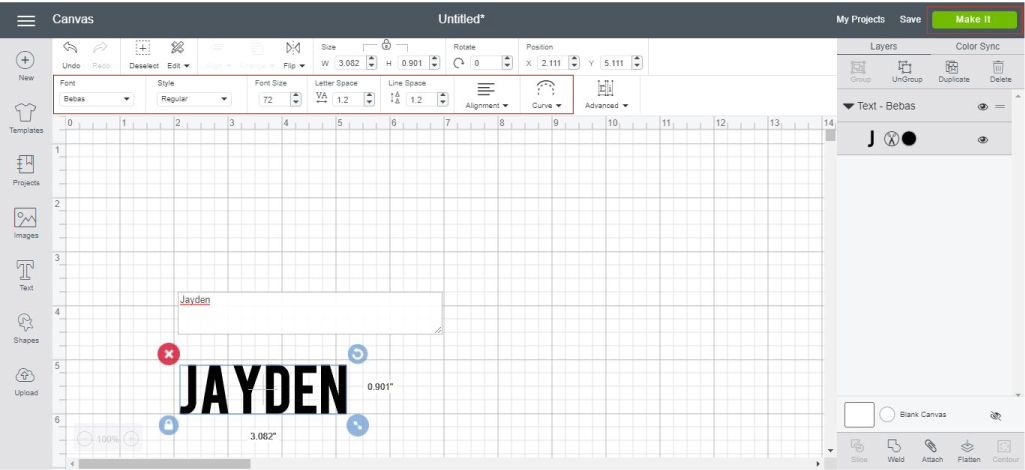
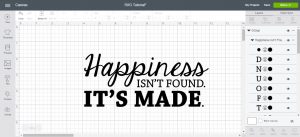
A large section with a list of fonts will appear. At the top you will see 3 options. All, System, and Cricut. Click on the word system and either search for the specific font or scroll down the list of fonts installed on your computer. For this decal I will be using the font Bebas.

Step 6
After clicking on the font you will be using the text will update. This area controls the font, font style, size, letter spacing, line space, alignment, and curve can be adjusted to your liking and project. Once all the text is formatted how you want it click the ‘Make It’ button in the top right hand corner.
[adinserter block=”1″]
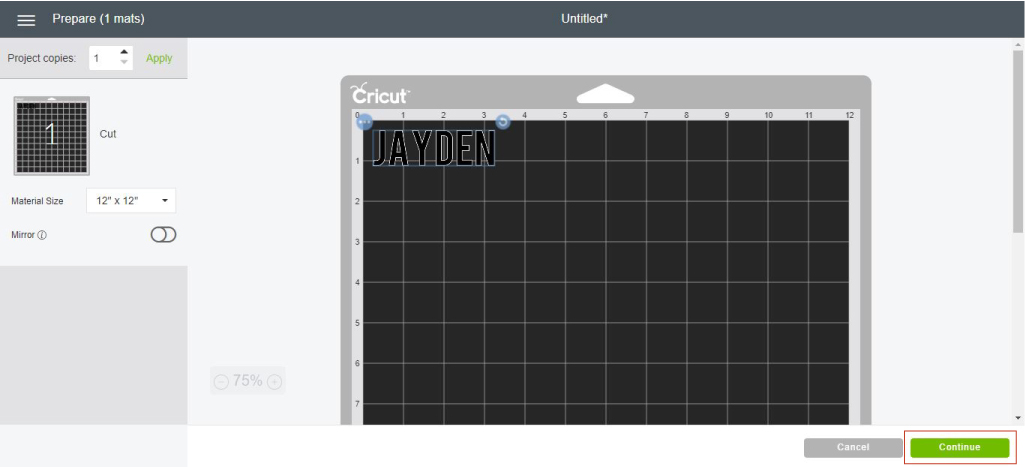
Step 7
Connect your Cricut to your computer and outlet. Select the right size of board on the left hand side and make sure that your material is placed in the same place as the design on the mat. Next, click on the ‘Continue’ bottom in the bottom right.
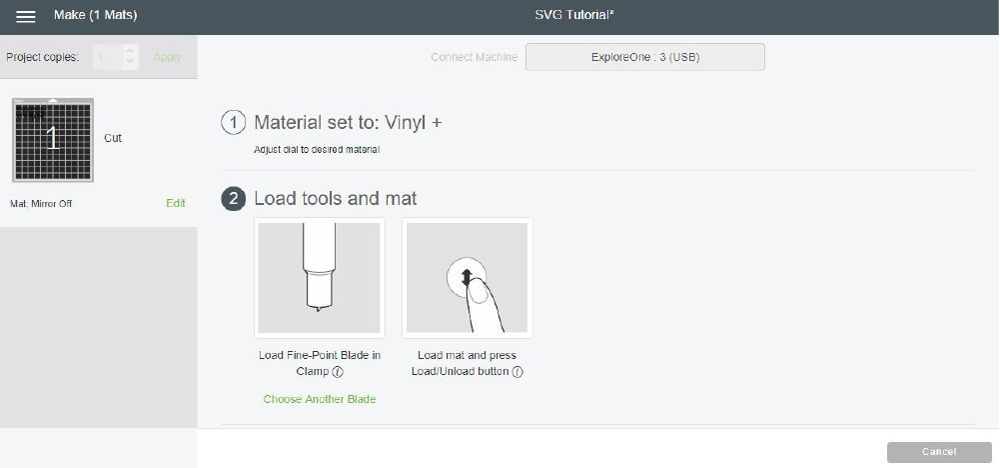
Step 8
Finally, set the material dial on your Cricut machine. Then push the Cricut button on your machine and let the Cricut work it’s magic!


In conclusion, knowing how to install fonts to your computer and use them in Cricut’s design space opens up a whole new world of home decor and DIY Cricut projects! The sky is the limit so have fun!
[adinserter block=”1″]
What are your favorite projects to make with your Cricut? Leave a comment below!